DIY Art Ideas from Dollar Store Items
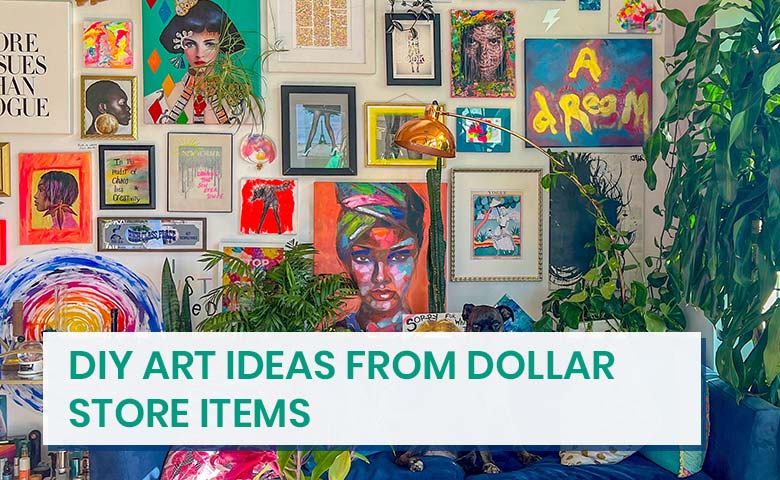
Table of Contents
- Waste Basket
- Mirror Boxes
- DIY Treat Stands
- Candle Lamp Shade
- Plastic Elephant Book Ends
- Foil Painting
- Leaf Prints
- Marbled Coasters
- Hand Painted Cactus
My first visit to a dollar store led to a drastic change to my life! My very notion that any attention to craft is a drain on your valet proved to be ill founded, rubbish. Dollar store is one stop shop for meeting all your DIY craft limitless needs. Besides being budget friendly, when you carefully browse through the items on display at the racks in the dollar store, new and innovative craft ideas would germinate in your mind to upgrade your space with DIY products which are identical to finished goods. Here are a few tips to deck up your lovely home.
Waste Basket
Find left over jute rope and a hot glue gun, you can transform the trash bin bought from dollar store a rustic looking garbage bin at home. Wind the rope around the trash, your lovely antique looking bin is ready!
Mirror Boxes
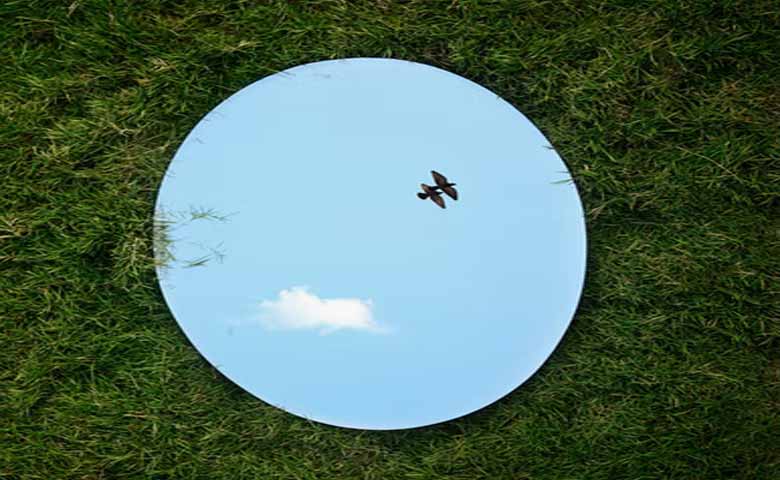
They don’t need much… just some square mirrors from dollar store and a glue gun. Run a thin line of hot glue along the edge of a mirror’s back side, align it to the outside edge of the base mirror. Hold the mirror in place for a few seconds until it gets set. Repeat the same for all sides. 2 minutes later, your pretty mirror box is ready!
DIY Treat Stands
Buy some candlesticks, plates and bowls. You could use plastic or resin plates for a more casual look or go fancy with some pretty ceramic or China ones. Simply glue candlesticks and plates, top it off with a colorful bowl. These are cheap and so easy to make treat stands that will give a beautiful look.
Candle Lamp Shade
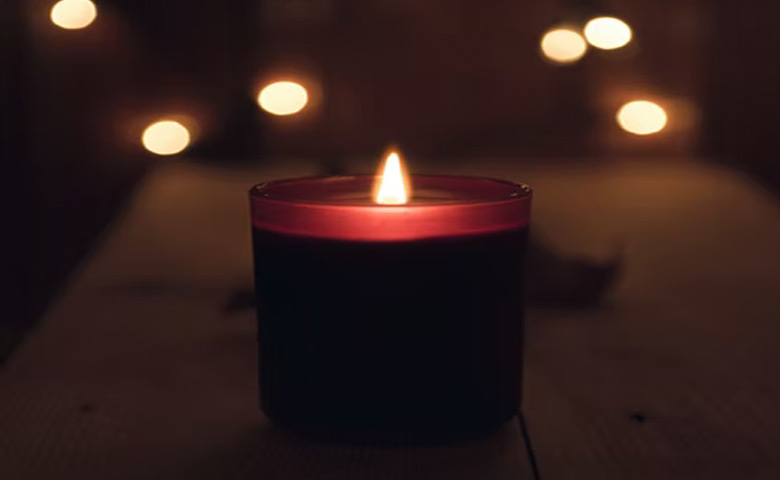
Gather wine glasses, scrap book paper, LED tea lights, scissors and double-sided tape. Cut out the shades of scrap book paper as per the dimension of the wine glass chosen, tape to secure. Then pop a tea light into each glass. Your cheery, chic lampshade is ready-perfect for family brunch.
Plastic Elephant Book Ends
Pick up two plastic elephants and a couple of spare wooden pieces of 4’ sq wooden pieces. Give a coat of paint to the wooden pieces, glue them to the desired height one over the other, then another be glued perpendicular to the bottom block, creating a L shape and glue the elephant to the book end bases. Your adorable book ends for your shelves is ready without straining your finances.
Foil Painting
Foil paining requires foil instead of paper, means a new paining surface, slippery, reflective surface that’s extra fun to paint on. Lay a card board piece of the desired dimension on to the foil, wrapping the edges around as if you are packing a gift, taping as you do. Choose your paint and start the work. It’s an art and craft experience in tandem.
Leaf Prints
Washable markers and leaves –that’s all you need for these leaf print. Flat leaves work best for this process, both for coloring and printing. Lay some scrap paper under your leaf and color away. When the leaf is covered in washable marker, you are ready to print. Turn the colored part of the leaf onto the paper and press down gently. Your vibrant print is ready.
Marbled Coasters
Here is the colorful coasters project that has endless possibilities. Oven bake clay in an array of colors, a rolling pin and some glazy color is all that’s needed for this venture. Break off several pieces of color, roll them out with your hand on a clean even surface so they in even length. Once they are rolled out twist, them together, fold in half and roll them with the hand. Take the rolling pin and roll it flat, you will see a beautiful pattern emerge. Sides can be cut to evenness to form a circular coaster and bake it for half an hour. Outside edge can be painted to your choice.
Hand Painted Cactus

Pick up some small, flat river rocks from the dollar store and some green paint. You may use 3 different colors to give some dimension to the cacti. Fill the bottom of the pots with moss. Paint the rocks look like cactus. Once everything is dry, fill the pot with tiny rocks to keep the cactus in place. Super easy and incredibly cute!
Indeed, crafting and art has proven to provide a laundry list of benefits for adults and children alike-from relieving stress, depression and insomnia to decreasing the risk of age-related cognitive impairment. Plus, a good craft project can go long way towards helping you achieve your interior decorating goals without breaking the bank.